
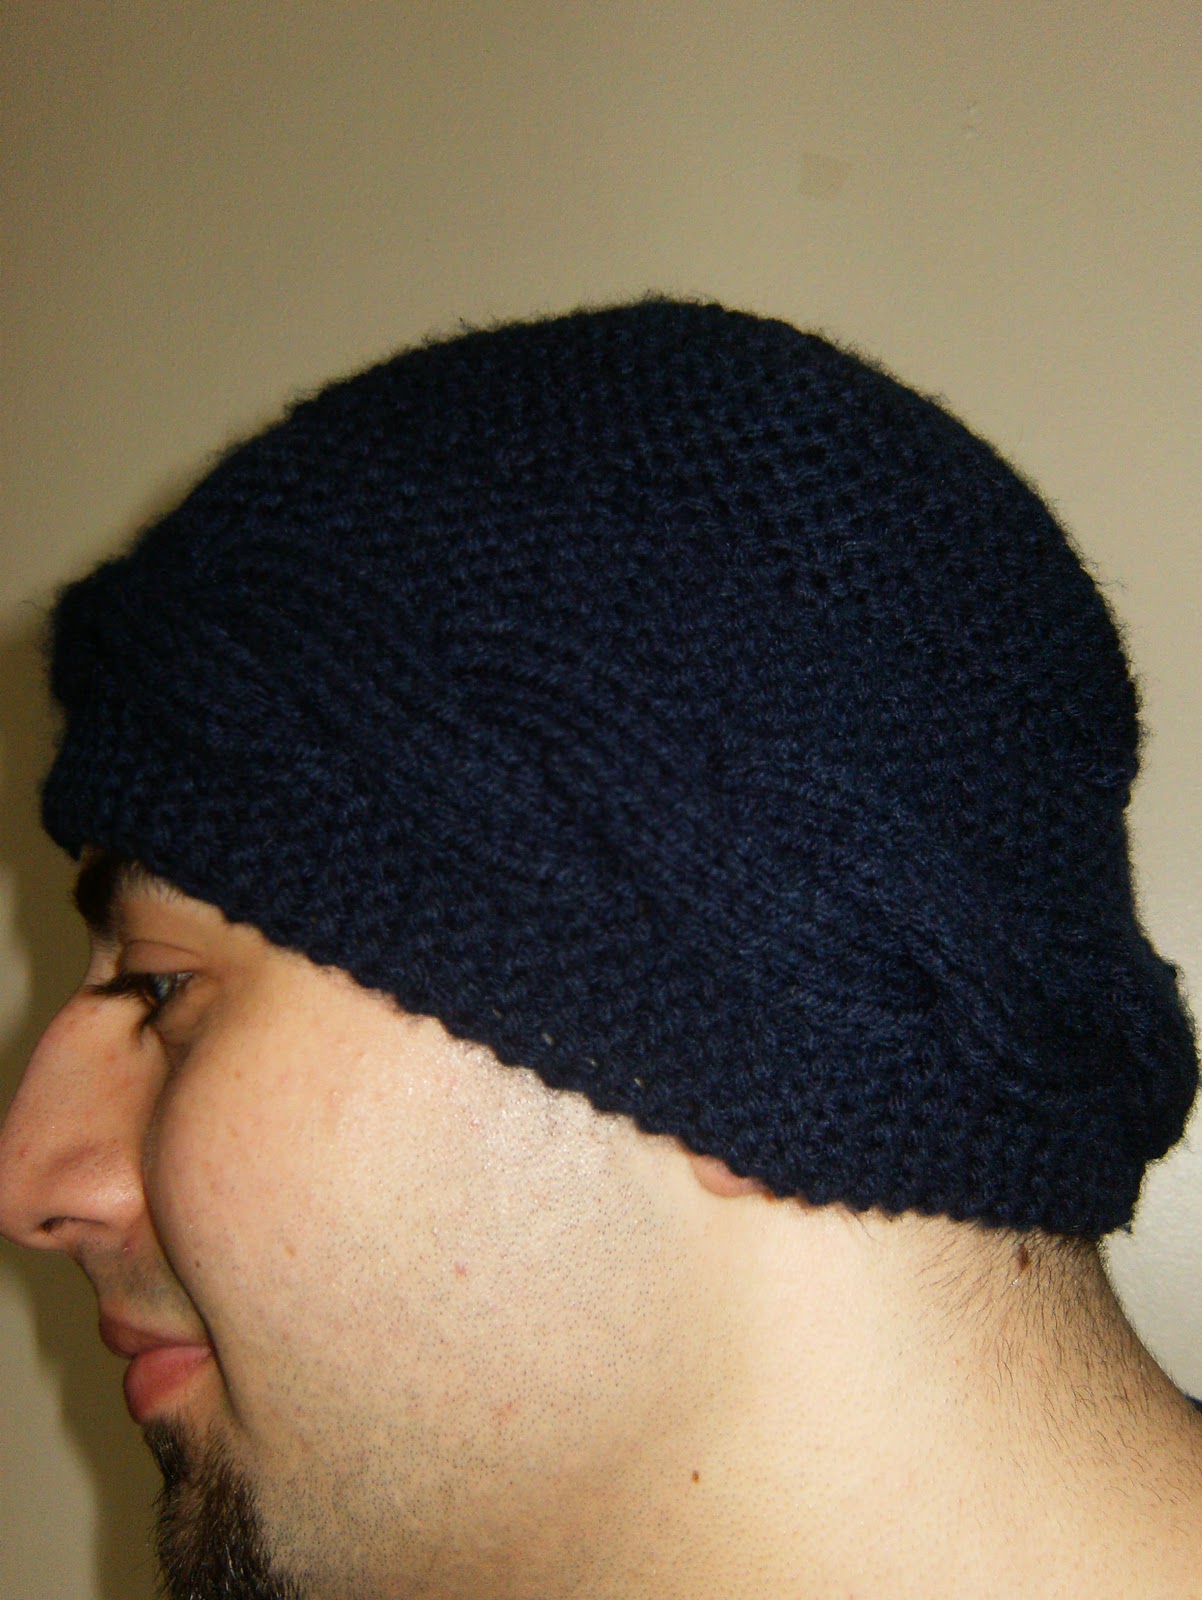
I was knitting my first cabled project ever when my roommate sat on me. My knitting was ruined, but in retrospect that's ok. I really hated the edging on that scarf, and by having to start over I got to redesign the scarf into something I liked much more (will post when scarf is complete). When I showed it to my boyfriend he thought that it was really cool, so I designed him this hat that matches my scarf. Of course I also made myself a hat which is the one pictured.
Cable Crown Hat
Materials:
Size 8 (US) dpns, size 8 circular if desired
Worsted weight yarn I used about 135 yds
Band:
Cast on 24 stitches use 2 dpns to knit the band.
Knit the first row. (This is a set up row)
Row 1: sl 1 k5 (place stitch marker) p12 (place second stitch marker) k6
Row 2: sl 1 k5 k12 k6
Row 3: sl 1 k5 p12 k6
Row 4: sl 1 k5 k12 k6
Row 5: sl 1 k5 p12 k6
Row 6: sl 1 k5 slip 6 stitches onto cable needle and let hang to back k6 and then knit the 6 stitches off the cable needle. Be sure to pull tight at the ends of the cable to avoid holes. K6
Row 7: sl 1 k5 p12 k6
Row 8: sl 1 k5 k12 k6
Row 9: sl 1 k5 p12 k6
Row 10: sl 1 k5 k12 k6
Row 11: sl 1 k5 p12 k6
Row 12: sl 1 k5 k12 k6
Repeat these 12 rows until the band measures desired size, it is best to stop after row 12 because your cables will be spaced evenly. My head is on the smaller side and my band measures 21”, my boyfriend has a more normal head size and his hat band is 23”. Sew the ends of the band together, the seam is least noticeable if you sew the band inside out (by sew I mean use your yarn tail and match up the stitches of your cable. Personally I have a hard time finding the seam on my hat but apparently there is a correct way to do and write this and I will amend this post once my mother, who is a much more experienced knitter emails me). Pick up the slipped stitches around one edge of the band. On both the hat sizes I made I picked up 70 stitches. Knit a round, purl a round until the hat measures 5 ¾” for the small size or 61/4” for the large size. Since 70 is easily divisible by 5, I placed a stitch marker every fourteen stitches on the last round before I began the decrease. After each marker knit or purl 2 stitches together until there are 5 stitches left. Bind off by running your tail through the last five stitches with a tapestry needle and pulling it to the inside of the hat through the hole in the top; pull tight and tuck in ends.

Excellent job - it looks very nice. I look forward to seeing your future projects!
ReplyDelete